Activating the Archiving Feature
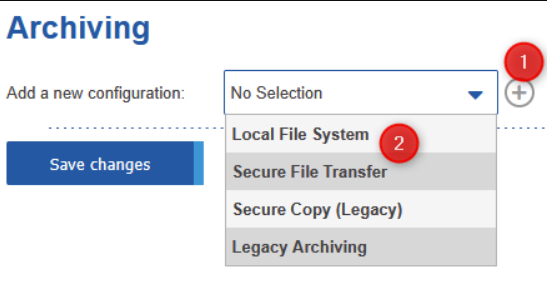
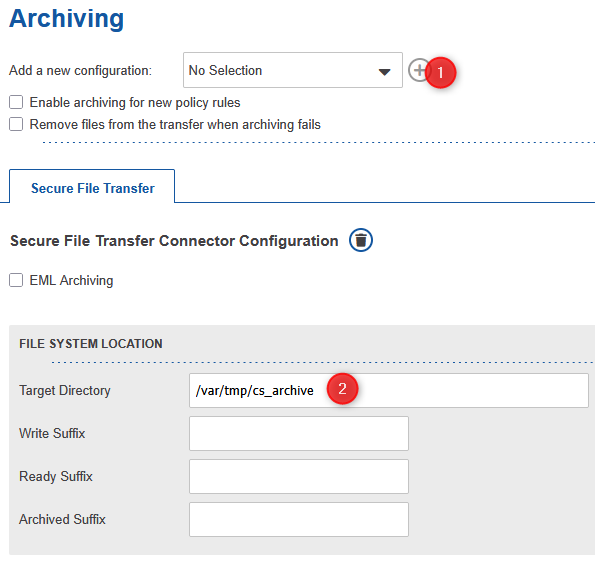
Adding and configuring a new connector
Choose the desired connector from the drop-down box and click on the 'plus' button for adding the connector.
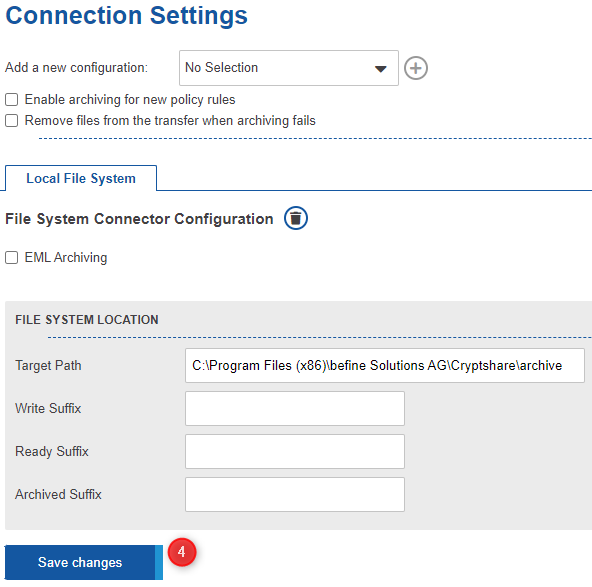
Enter the target directory to where archiving information shall be written and save the settings.

|
Make sure that this directory exists and that Cryptshare is granted write access. |
If your archiving system supports working with file name suffixes, set up the suffixes as well. Save the changes.
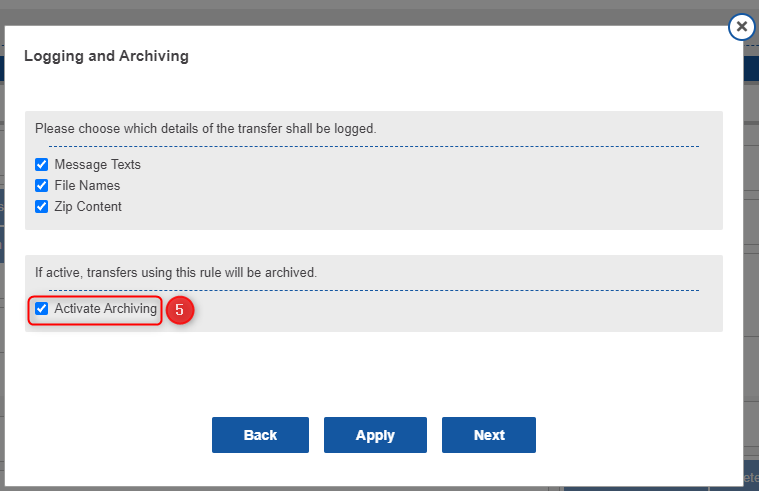
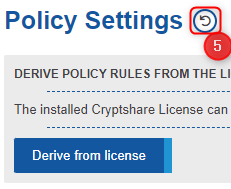
Go to the Policy Rule Setup and activate the archiving feature by either activating it for single policy rules or by resetting the policy rules to their default settings.
Activate archiving for a single policy rule
Activate archiving using the reset-function
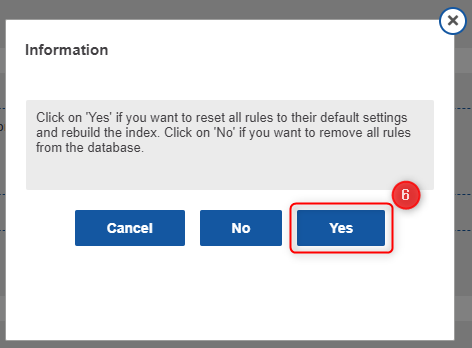
|
Note that this will only enable the feature in case you have activated archiving for new Policy Rules previously. |
|
Keep in mind, that the reset function may also change other settings to their defaults. |
Remote Host
Enter the host name or IP address of the remote SFTP server. Make sure the SFTP server is up and running. Change the port setting in case the SFTP server is running on a different port.

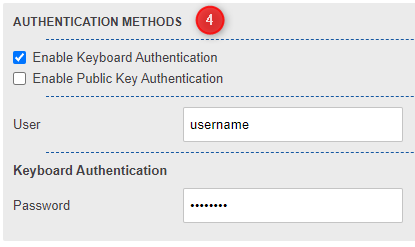
Authentication
Keyboard Authentication
Activate the checkbox for keyboard authentication and enter a username and password.
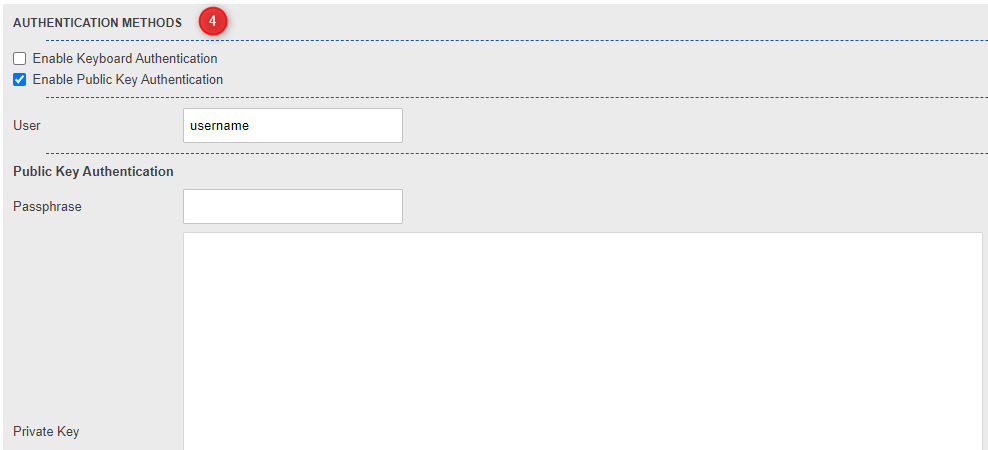
Public Key Authentication
Activate the checkbox for public-key authentication, enter a username, a passphrase if the key uses one and paste the private key into the text area.
|
Please note, that the format of the private key needs to be compatible with the openSSH format. |
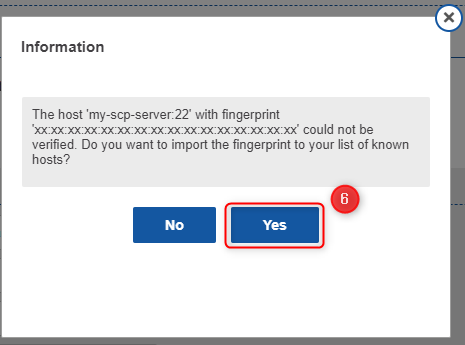
Finally click the 'Test Connection' button in order to check the settings If you didn’t setup the fingerprint manually, a dialogue will show up asking whether you want to import the fingerprint. Confirm the dialogue with 'Yes' in order to import it. If you do not import the fingerprint a connection will not be possible. Save the changes in order to finish the setup.
EML Archiving
This feature is supported for the archiving connectors "Local File System" and "Secure copy". When activated, the connector attaches all archiving information to a single EML file. This way of archiving information is a common way how archiving systems gather their contents.

Prioritization
Attachments for the archiving EML are attached according to the following prioritization definition:
-
General Order
-
Confidential message
-
Metadata
-
Transfer files
-
-
Document types (default configuration)
-
\*.eml
-
\*.pdf
-
\*.docx
-
\*.doc
-
\*.xlsx
-
\*.xls
-
\*.txt
-
\*.ppt
-
\*.pptx
-
<all remaining files>
-
-
Files sizes: The smallest files are attached first
The document types consists of a list of file type extensions in the cryptshare.properties. By setting these properties, the default configuration is overwritten, which provides the following options:
-
A new list can be defined
-
The order of the items can be changed
-
Further file types can be defined
-
At least one item needs to be specified, otherwise the setting will not be accepted and the default setting will be applied.

Set a Maximum Total Attachment Size
In order to limit the file size of the generated EML file, you can specifiy a maximum total attachment size for attachments. The allowed values are all positive integer numbers including zero. The default setting is 25 megabytes. When the overall size of all attachments (excluding the message itself and the metadata file) reaches the defined size threshold, no further attachments will be added to the EML.
|
Note that the final EML file size increases by up to a factor of 1.5 due to the attachments being Base64 encoded. |
Set a file name template for the generated EML file
The filename for the generated EML file is fully customizable. For creating dynamic names and traceability, you can set the EML file name using the Velocity placeholders like in the Metadata Configuration. A minimum file name of 4 characters is required and no empty value is allowed. The default setting is ${trackingId}.eml.
|
Example
A transfer is provided having the tracking-id '20170822-114019-3a4efd0d'. Together with the default setting the EML file name will be '20170822-114019-3a4efd0d.eml'. |