Installation guide
Installation guide on how to install Pointsharp Identity Provider (IdP) on an Ubuntu or Red Hat Enterprise Linux host, using the provided files.
Included files
- PointsharpIdP-<VERSION>.tar.gz
-
The Pointsharp IdP application package.
- psidp_install.sh
-
Installation script for setting up Pointsharp IdP.
- README
-
Same content as in this installation guide.
Prerequisites
-
An Ubuntu or Red Hat Enterprise Linux host
-
SSH access to the host
-
sudo access to the host
Installation steps
-
Upload the PointsharpIdP-<VERSION>.tar.gz file to your host.
For example, using SCP:scp PointsharpIdP-<VERSION>.tar.gz username@your-ubuntu-host:~/
-
Untar the installation files.
$ tar -xf PointsharpIdP-<VERSION>.tar.gz
-
Connect to your Ubuntu host. Set the execution permission for the script file if needed:
$ chmod u+x psidp_install.sh
-
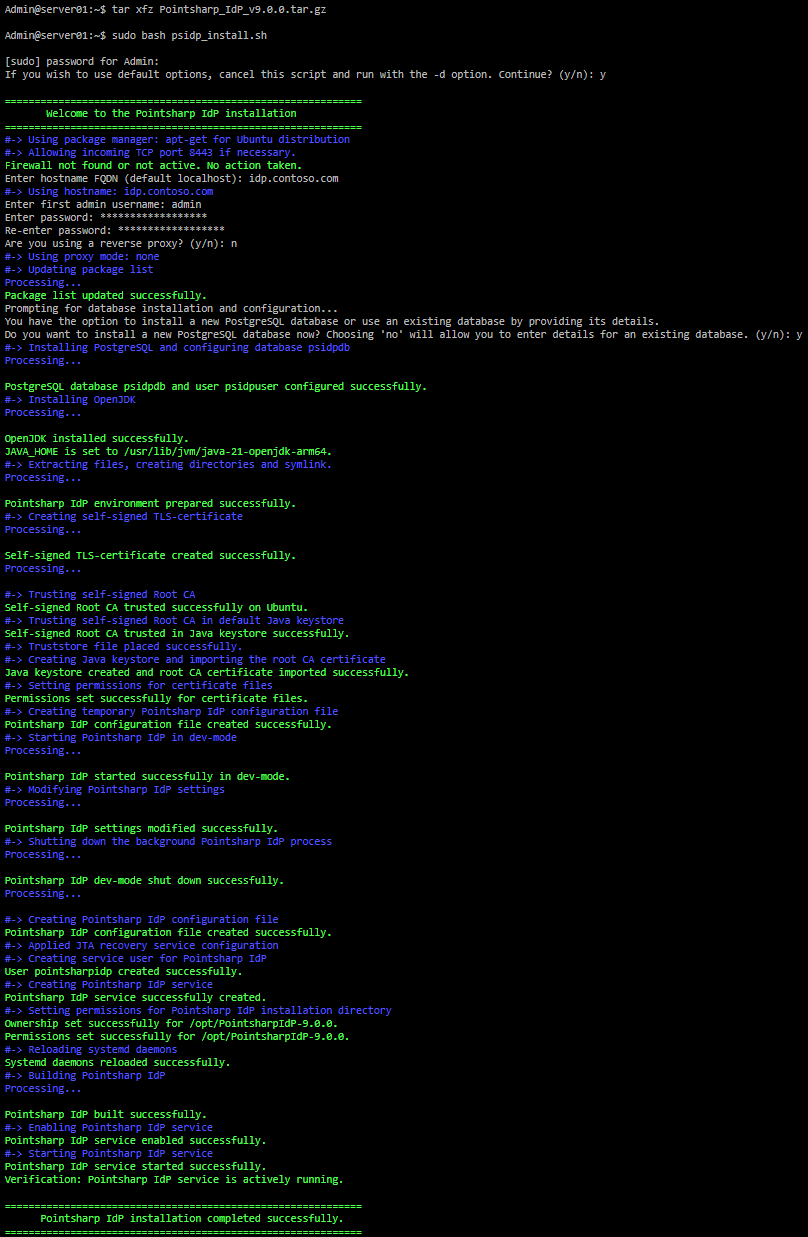
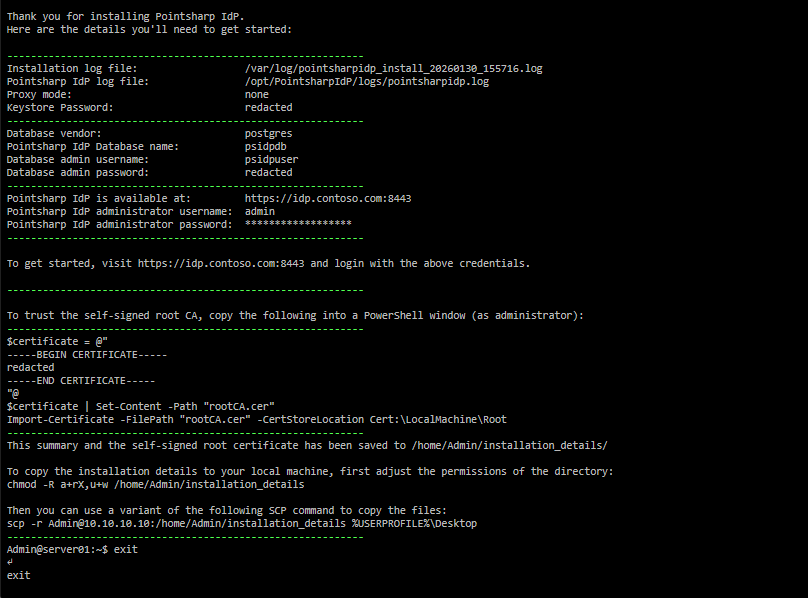
Run the installation script by entering:
$ sudo bash psidp_install.sh
| If you don’t include the -d flag, you’ll be prompted with the full set of options. |
All arguments:
-d: Run the installer with default settings.
-h: Specify the hostname of the Pointsharp IdP in FQDN format.
-p: Specify proxy mode. (Options: none, edge, reencrypt, passthrough)
Example usage:
$ sudo bash psidp_install.sh -d -h login.domain.com -p none
| Please note that you may be unable to access the administration web console if you do not set the correct hostname. For example, if using the default hostname "localhost," you will only be able to access the admin console from localhost. |
|
If the script was edited on a Windows host, it may be incorrectly formatted. Run this command to fix it: $ sed -i -e 's/\r$//' psidp_install.sh* |
Clearing cache after redeploying themes or custom providers
Custom providers and themes are loaded and cached at startup. When redeploying them, the cache must be deleted for changes to apply.
-
Delete
data/tmp/kc-gzip-cache -
Or delete the content in the tmp file:
$ rm -rf data/tmp/*
This is particularly helpful during development and testing, including theme changes.