Certificate enrollment procedures
These procedures describe certificate enrollment to a token without any extra input criteria, for example, no signature or identification. Net iD Portal supports different ways to configure an enrollment flow to suit your organization.
Standard smart card
-
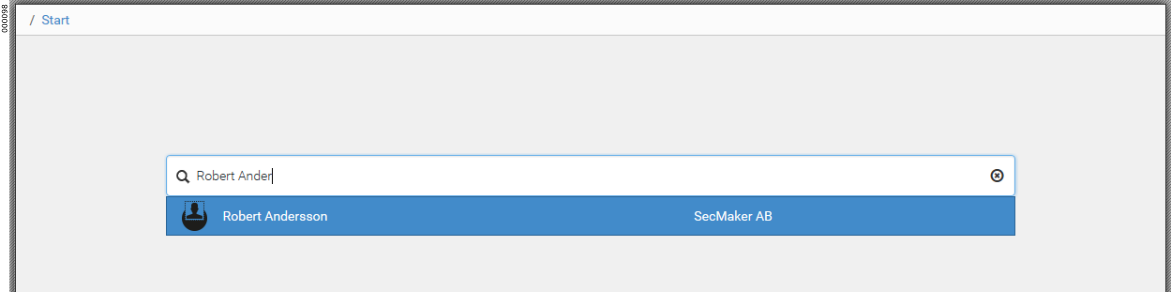
On the Users tab, search for the user you want to enroll a certificate to and go to the user’s profile.
-
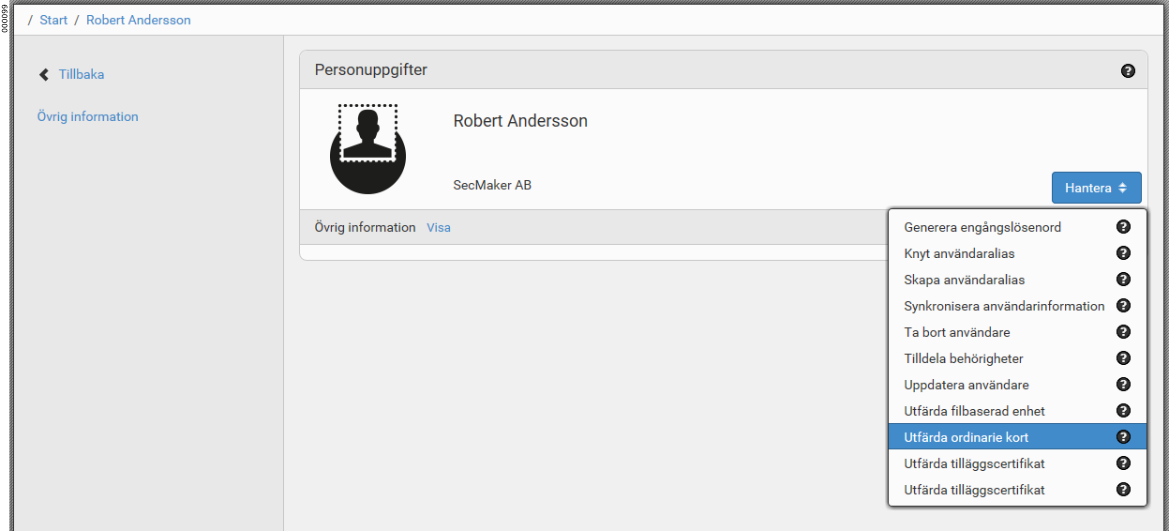
Click .
-
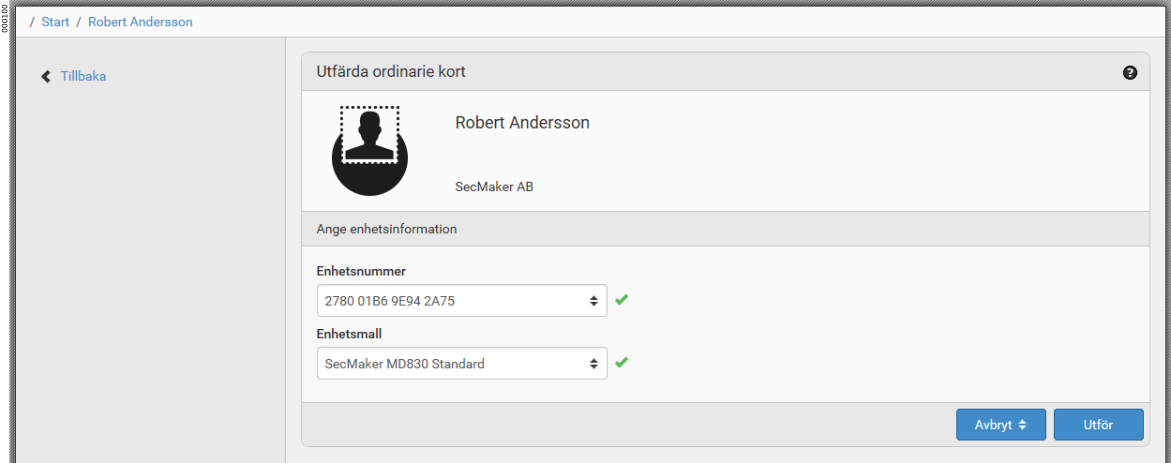
In the Token template list, click the token template to be used for the enrollment, and then click Execute.
-
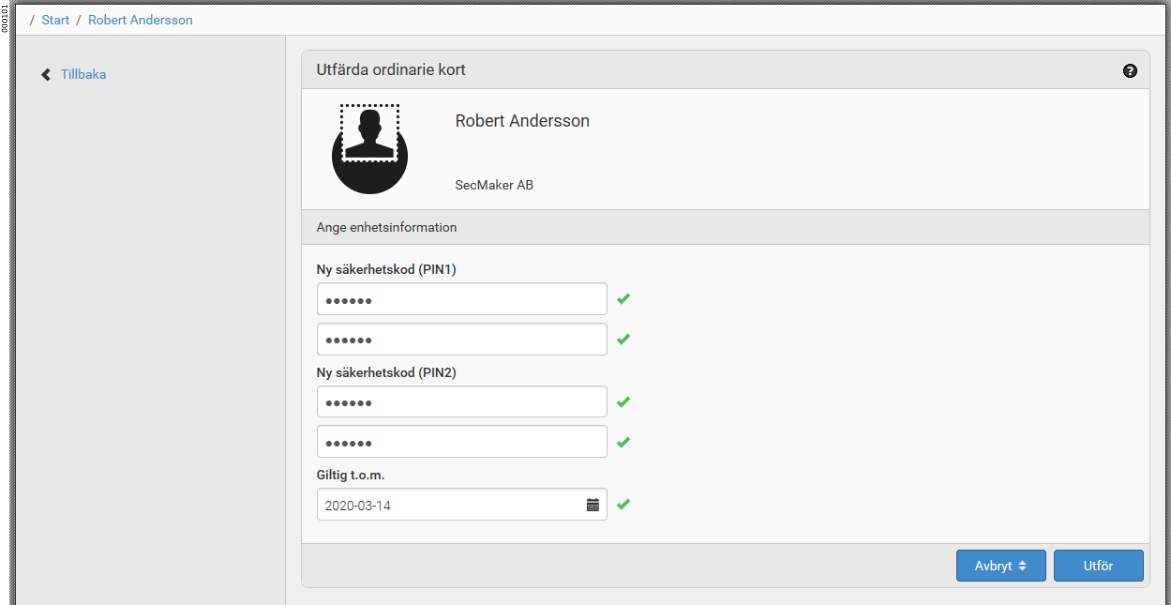
Enter a new security code for the smart card to be enrolled.
-
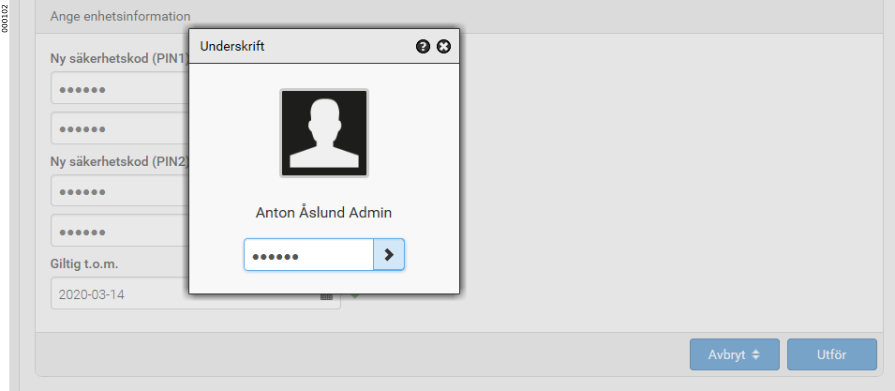
Sign the enrollment with the signature PIN.
-
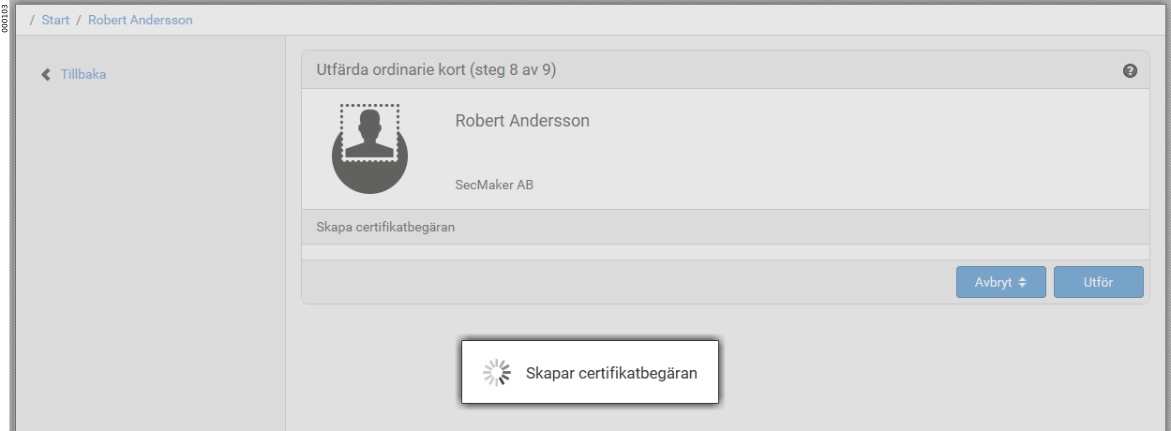
The certificate is created and written to the smart card.
-
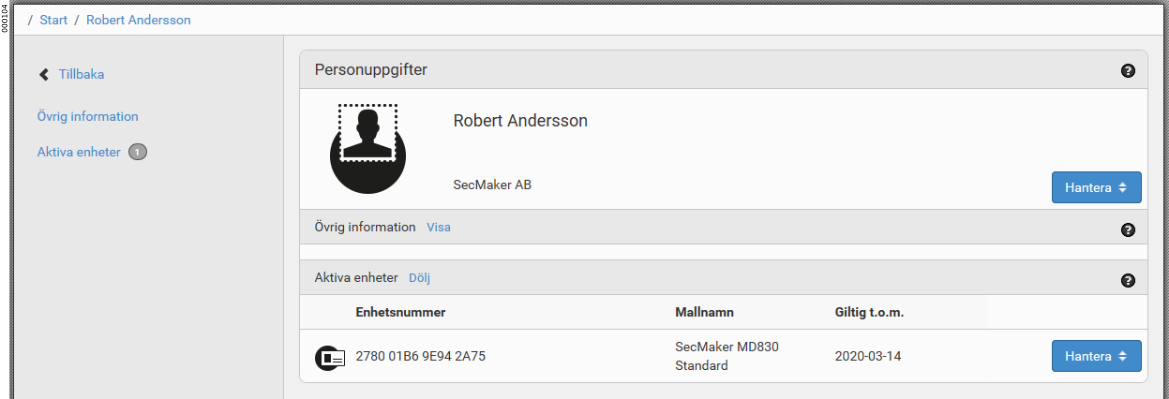
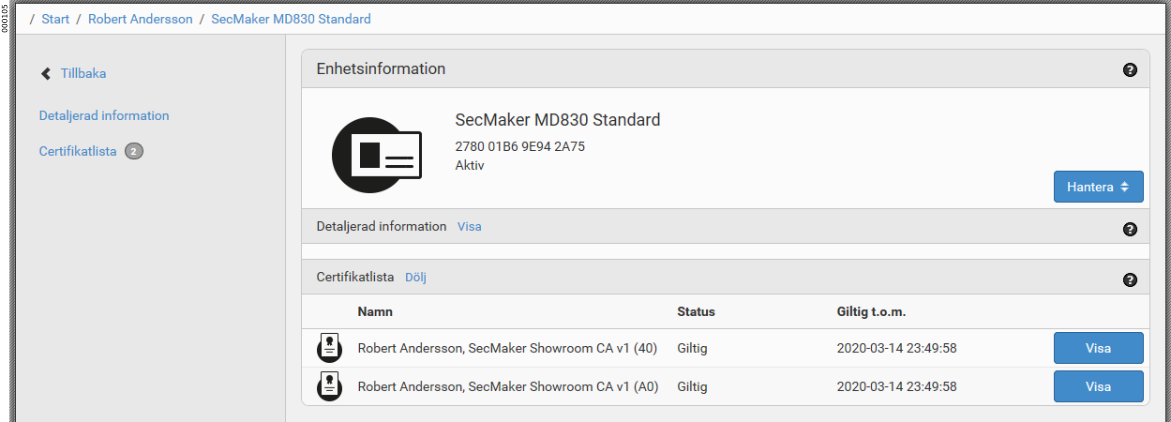
The user record now shows active tokens that have been enrolled in Net iD Portal.
-
Click to see information about the certificates.
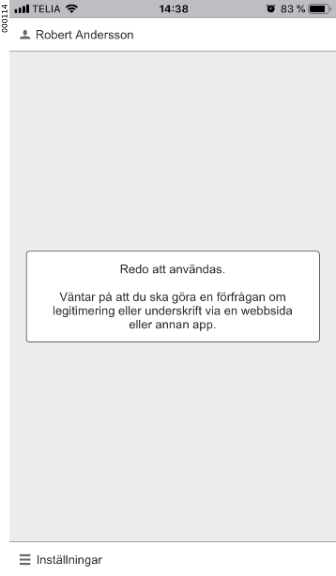
Mobile
-
On the Users tab, search for the user you want to enroll a certificate to and go to the user’s profile.
-
Click .

-
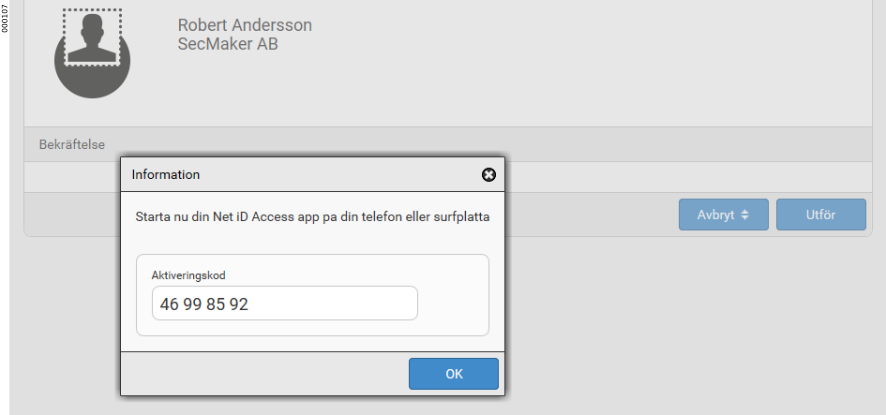
Click Execute and follow the instructions.
-
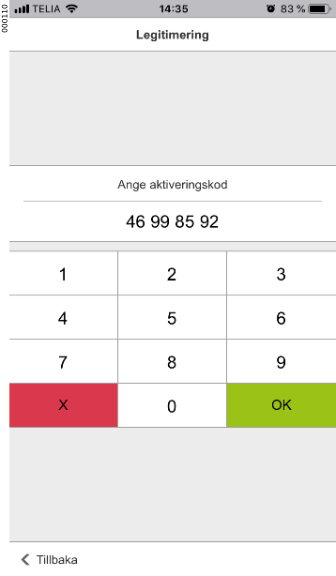
An activation code is generated. The activation code can also be sent by email to the user.
-
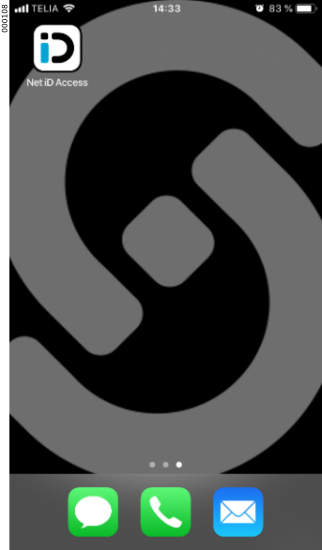
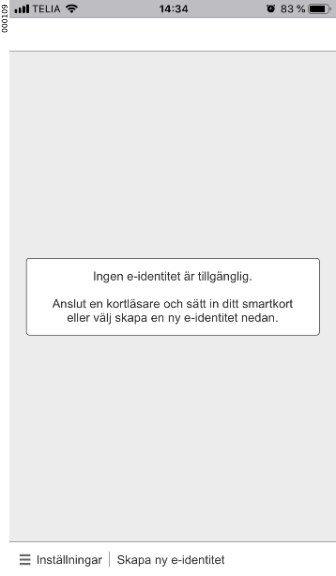
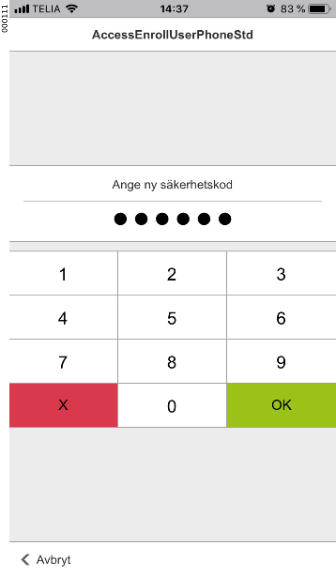
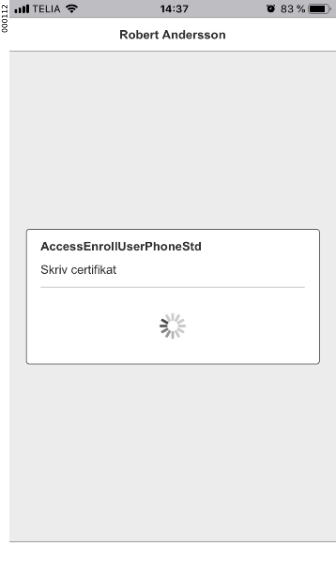
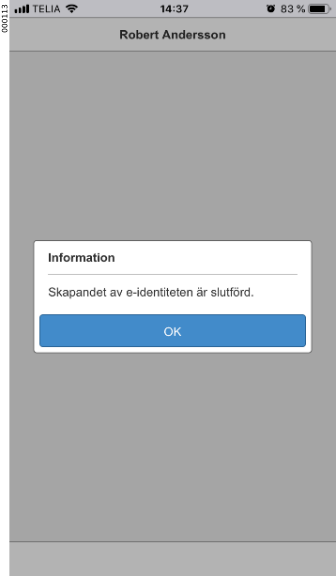
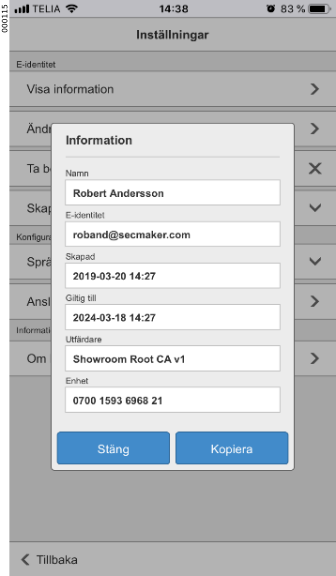
The user opens the Net iD Access app on their mobile phone and selects Create new e-identity. The user enters the activation code and a new security code for their mobile identity, and then completes the enrollment.
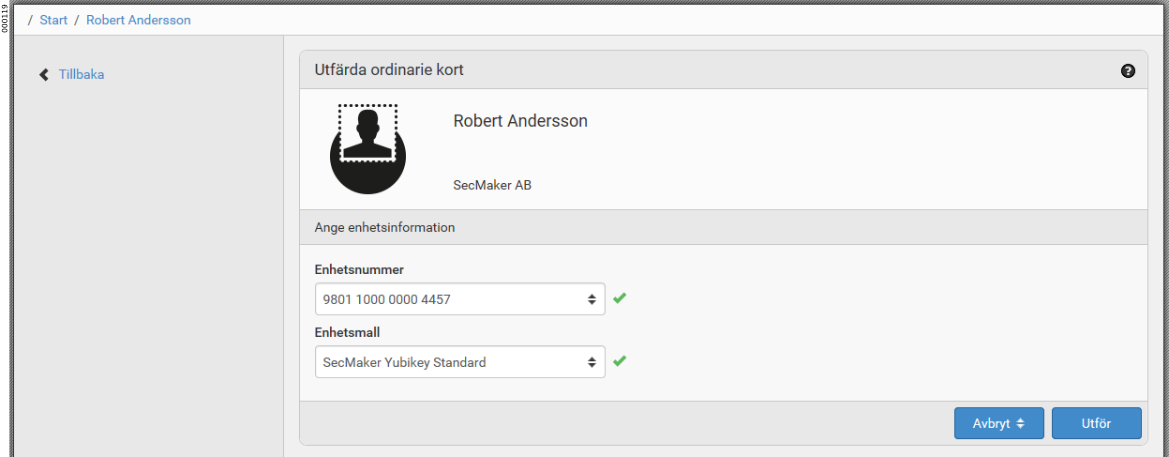
YubiKey
-
On the Users tab, search for the user you want to enroll a certificate to and go to the user’s profile.
-
Click .
-
In the Token template list, click the token template to be used for the enrollment, and then click Execute.
-
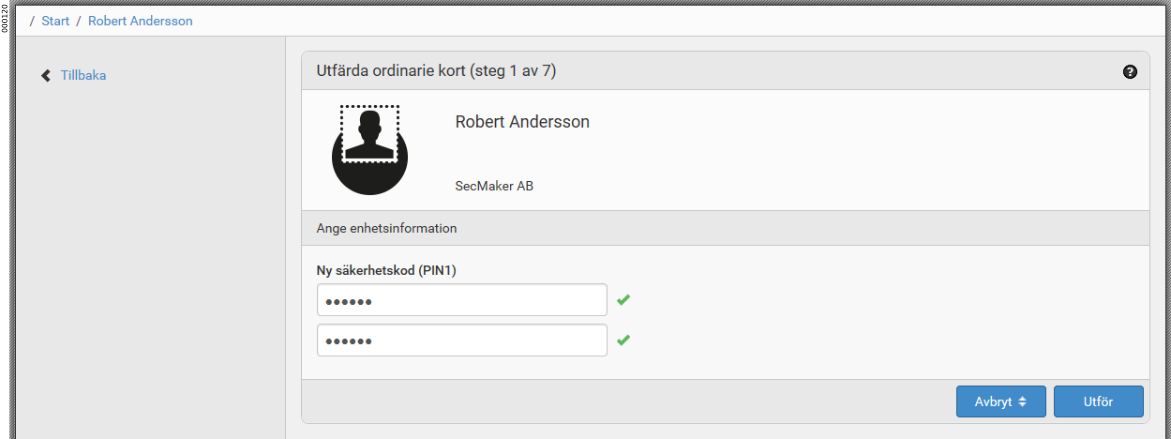
Enter a new security code for the YubiKey to be enrolled.
-
The certificate is created and written to the YubiKey.
-
The user record now shows Active tokens and the enrolled YubiKey.
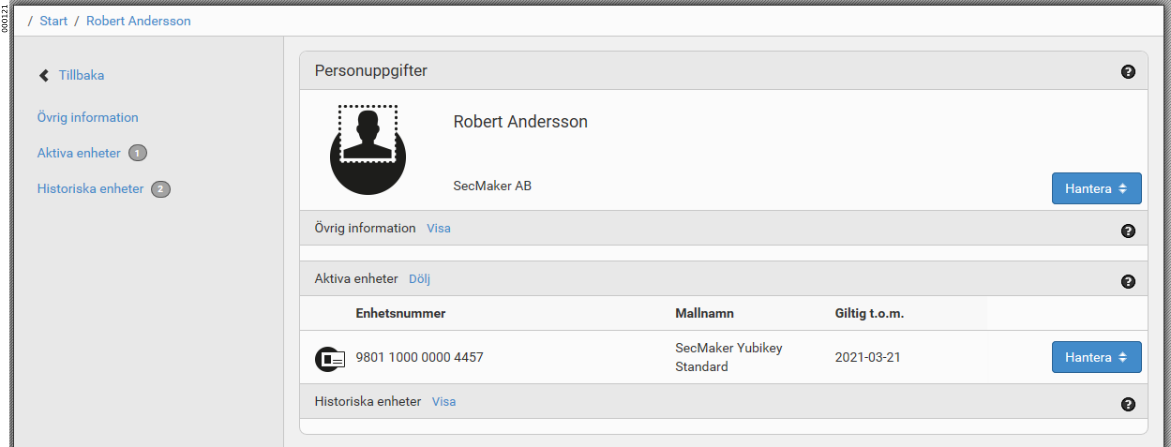
-
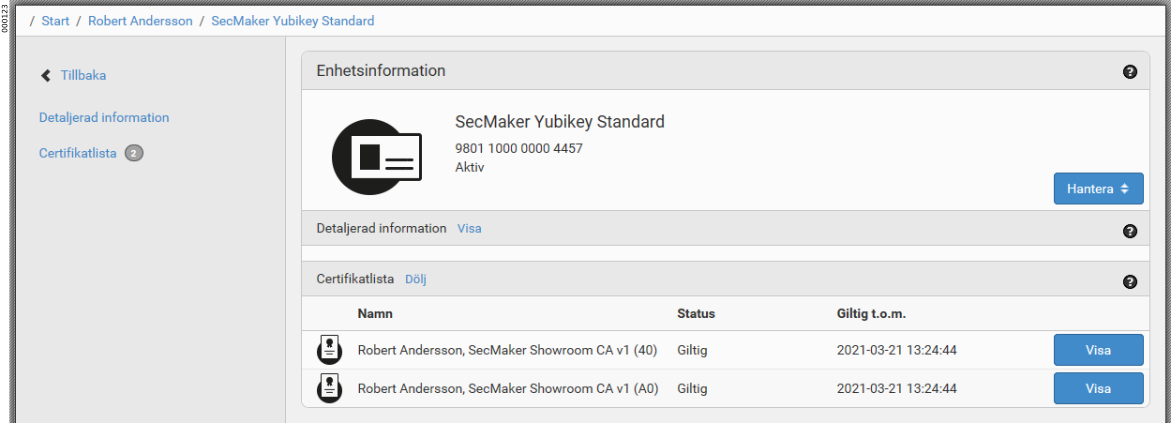
Click on the YubiKey to see information about the certificates.
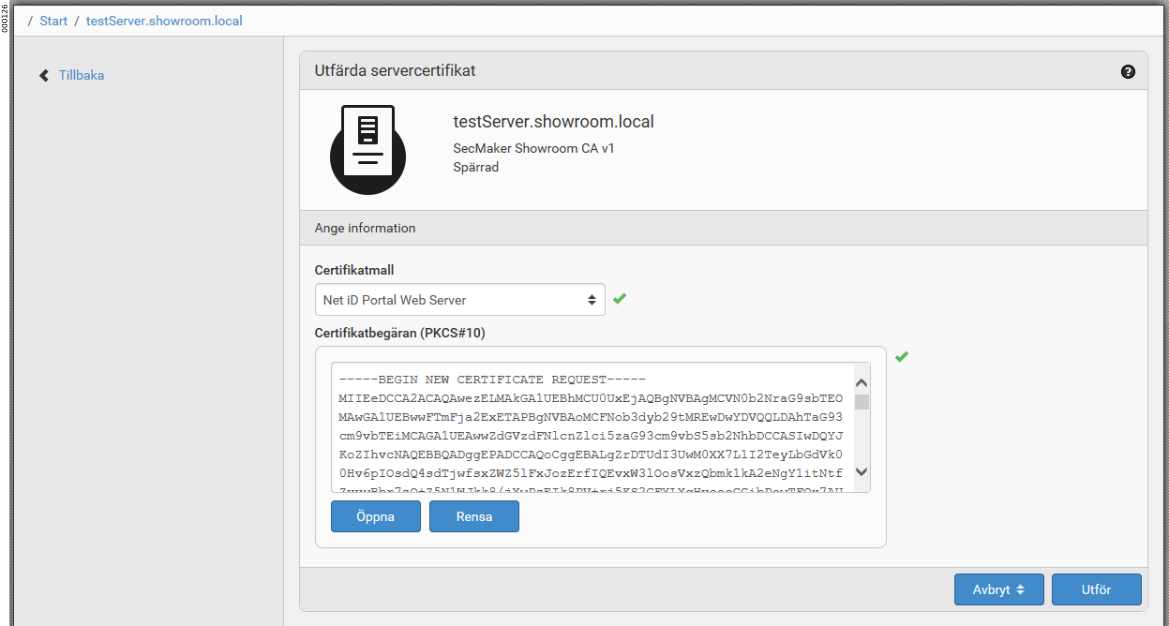
Server
-
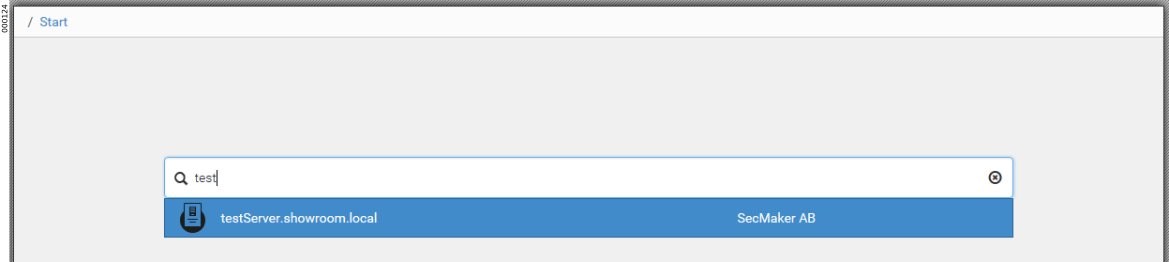
On the Server tab, search for the server you want to enroll a certificate to and go to the server’s profile.
-
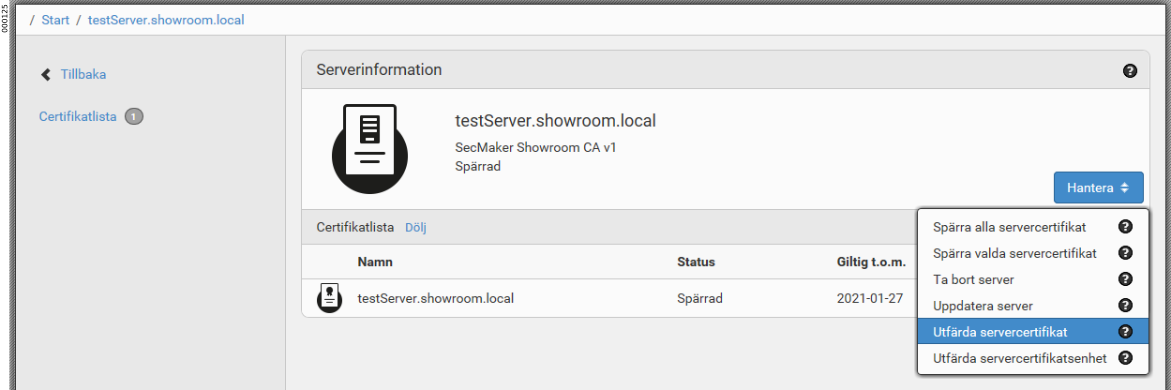
Click .
-
In the Certificate template list, click the certificate template to be used, and then click Open to open the certificate request that was previously created by the server. Click Execute.
-
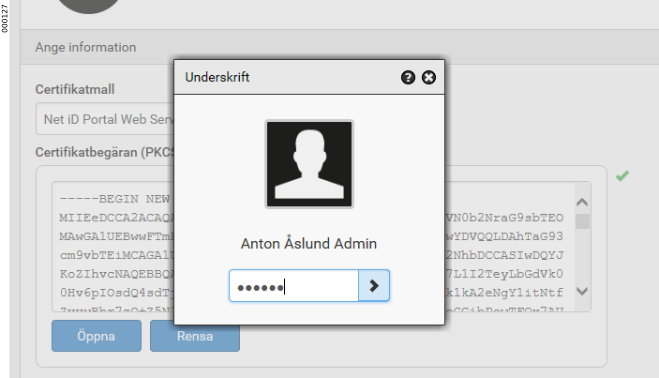
Sign the server certificate enrollment with the signature PIN.
-
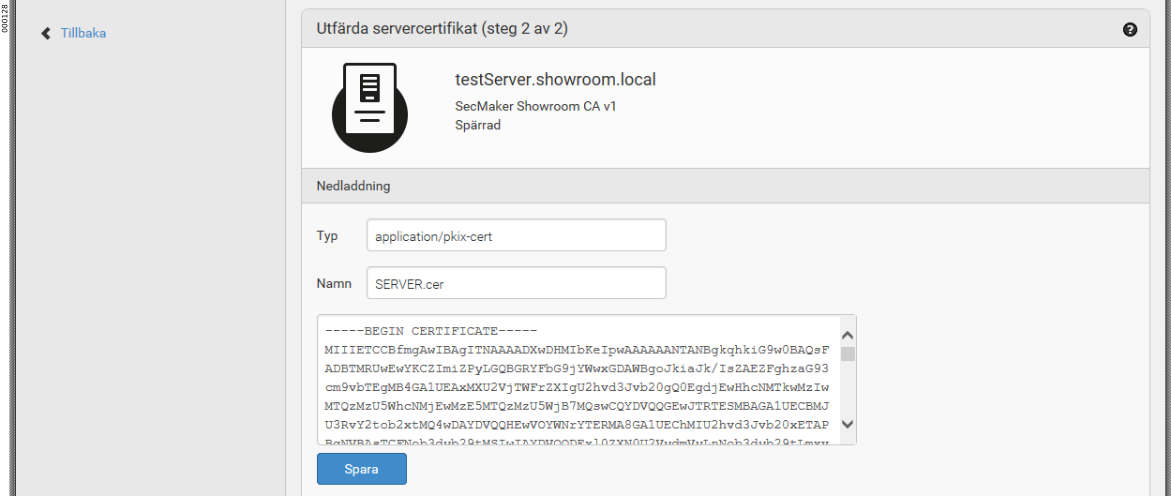
The certificate is approved and is available for download. Click Save.
-
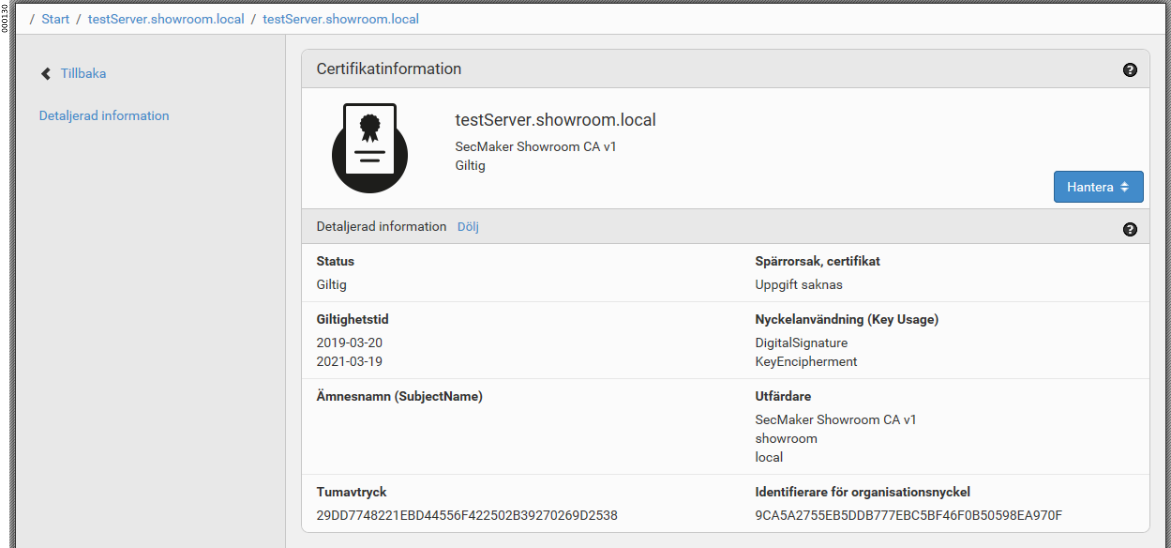
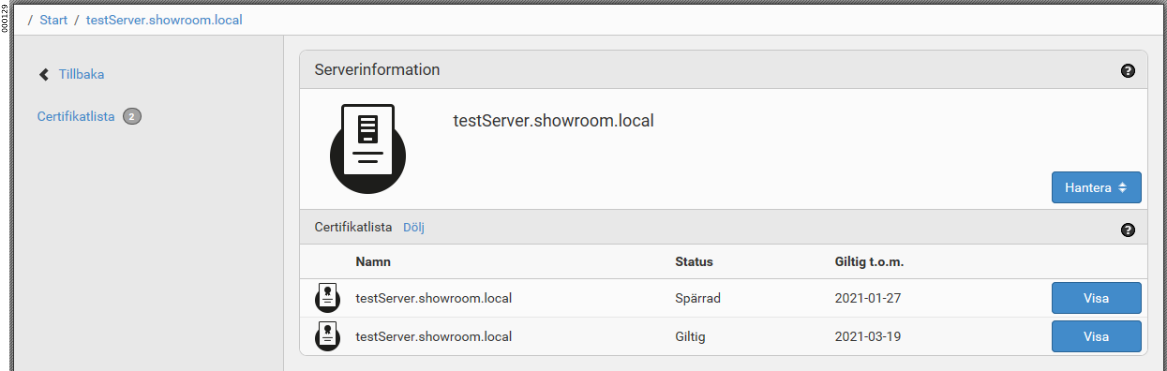
The server record now shows the enrolled certificate.
-
Click View to see information about the certificate.