Install Net iD Portal
The Net iD Portal installation wizard installs:
-
SQL Server Express
-
Internet Information Services (IIS)
-
Net iD Portal
-
Net iD Client
Installation procedure
-
Run the installation package and follow the steps.
The installation package requires restart after the IIS and the SQL installation. After the restart, wait for the program to start automatically. -
On the prerequisites page, choose which one programs to install or configure, and then click Next.
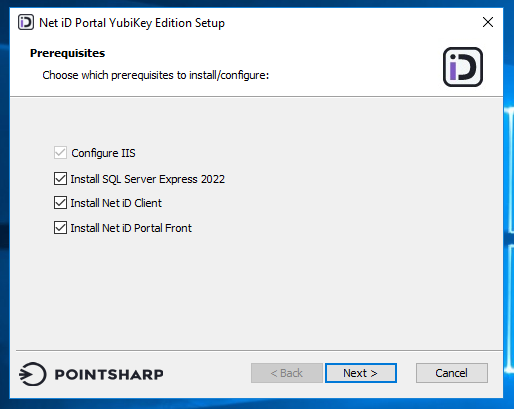
The SQL Server installation can take some time to finish.
-
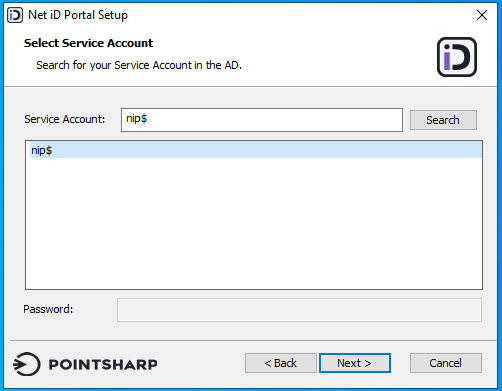
In the Service Account box, type the name of the service account, click Search, and then click Next.
-
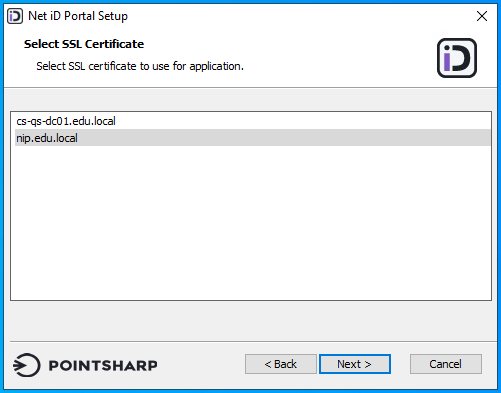
Click the SSL certificate that you want to use, and then click Next.
-
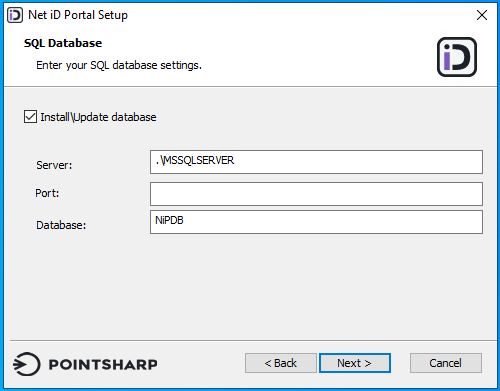
Type the SQL connection information such as server, port, and database name, and then click Next.
-
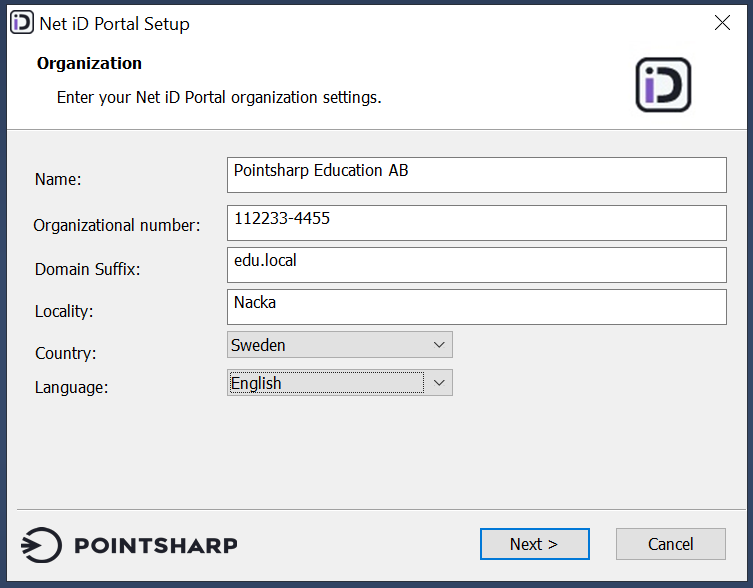
Enter your organization information, and then click Next.
-
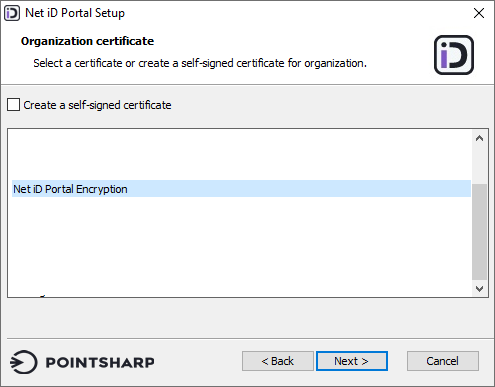
Choose the encryption certificate that you created earlier, and then click Next. This certificate is used for encryption between the client and the server and signing of audit logs.
-
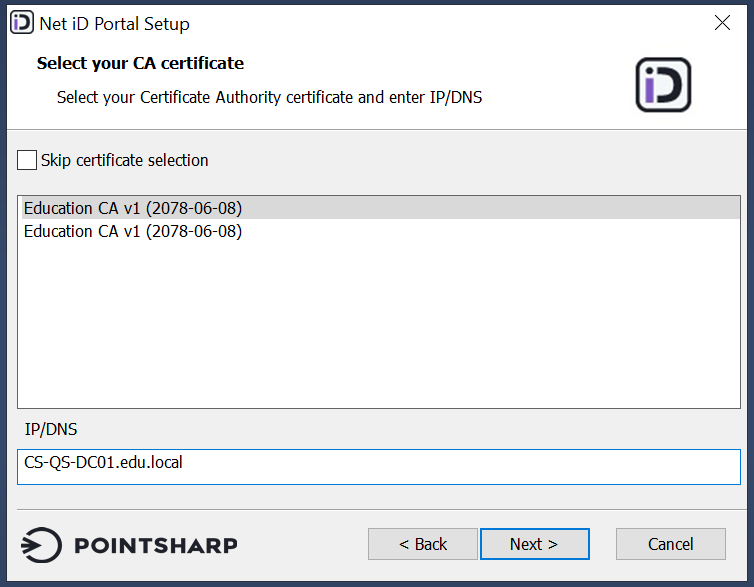
Click your CA certificate and type the IP or DNS to the certificate service.
-
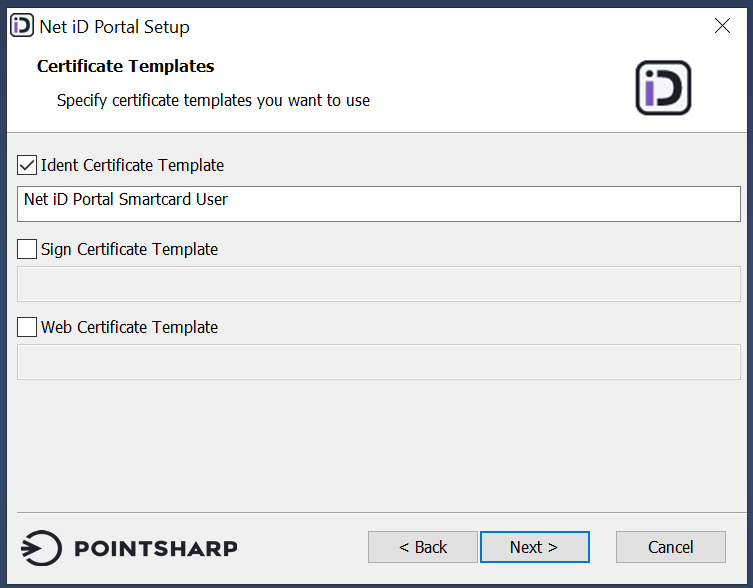
Type the name of the certificate template that you created earlier, and then click Next.
-
When the IIS configuration is finished, an OTP code for the Net iD Portal login is shown. Click Copy to keyboard and save the password for later.
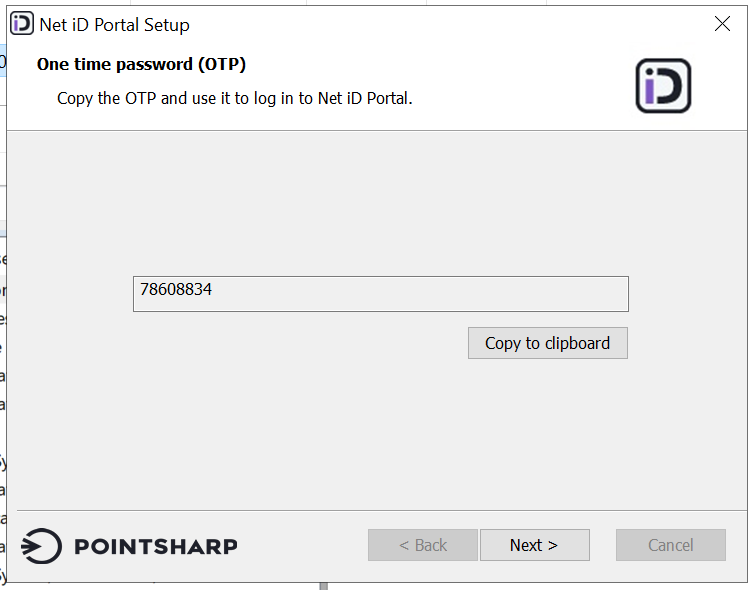
-
Click Next to finish the installation.
-
Start the IIS Manager to make sure that the websites are up and running. If you already have other applications hosted by the IIS, you might need to manually start the websites.
